How to:
Build a Stool

iitdesignbuild
Creative Consultant & Photographer
Photography / Narrative Development / Creative Direction
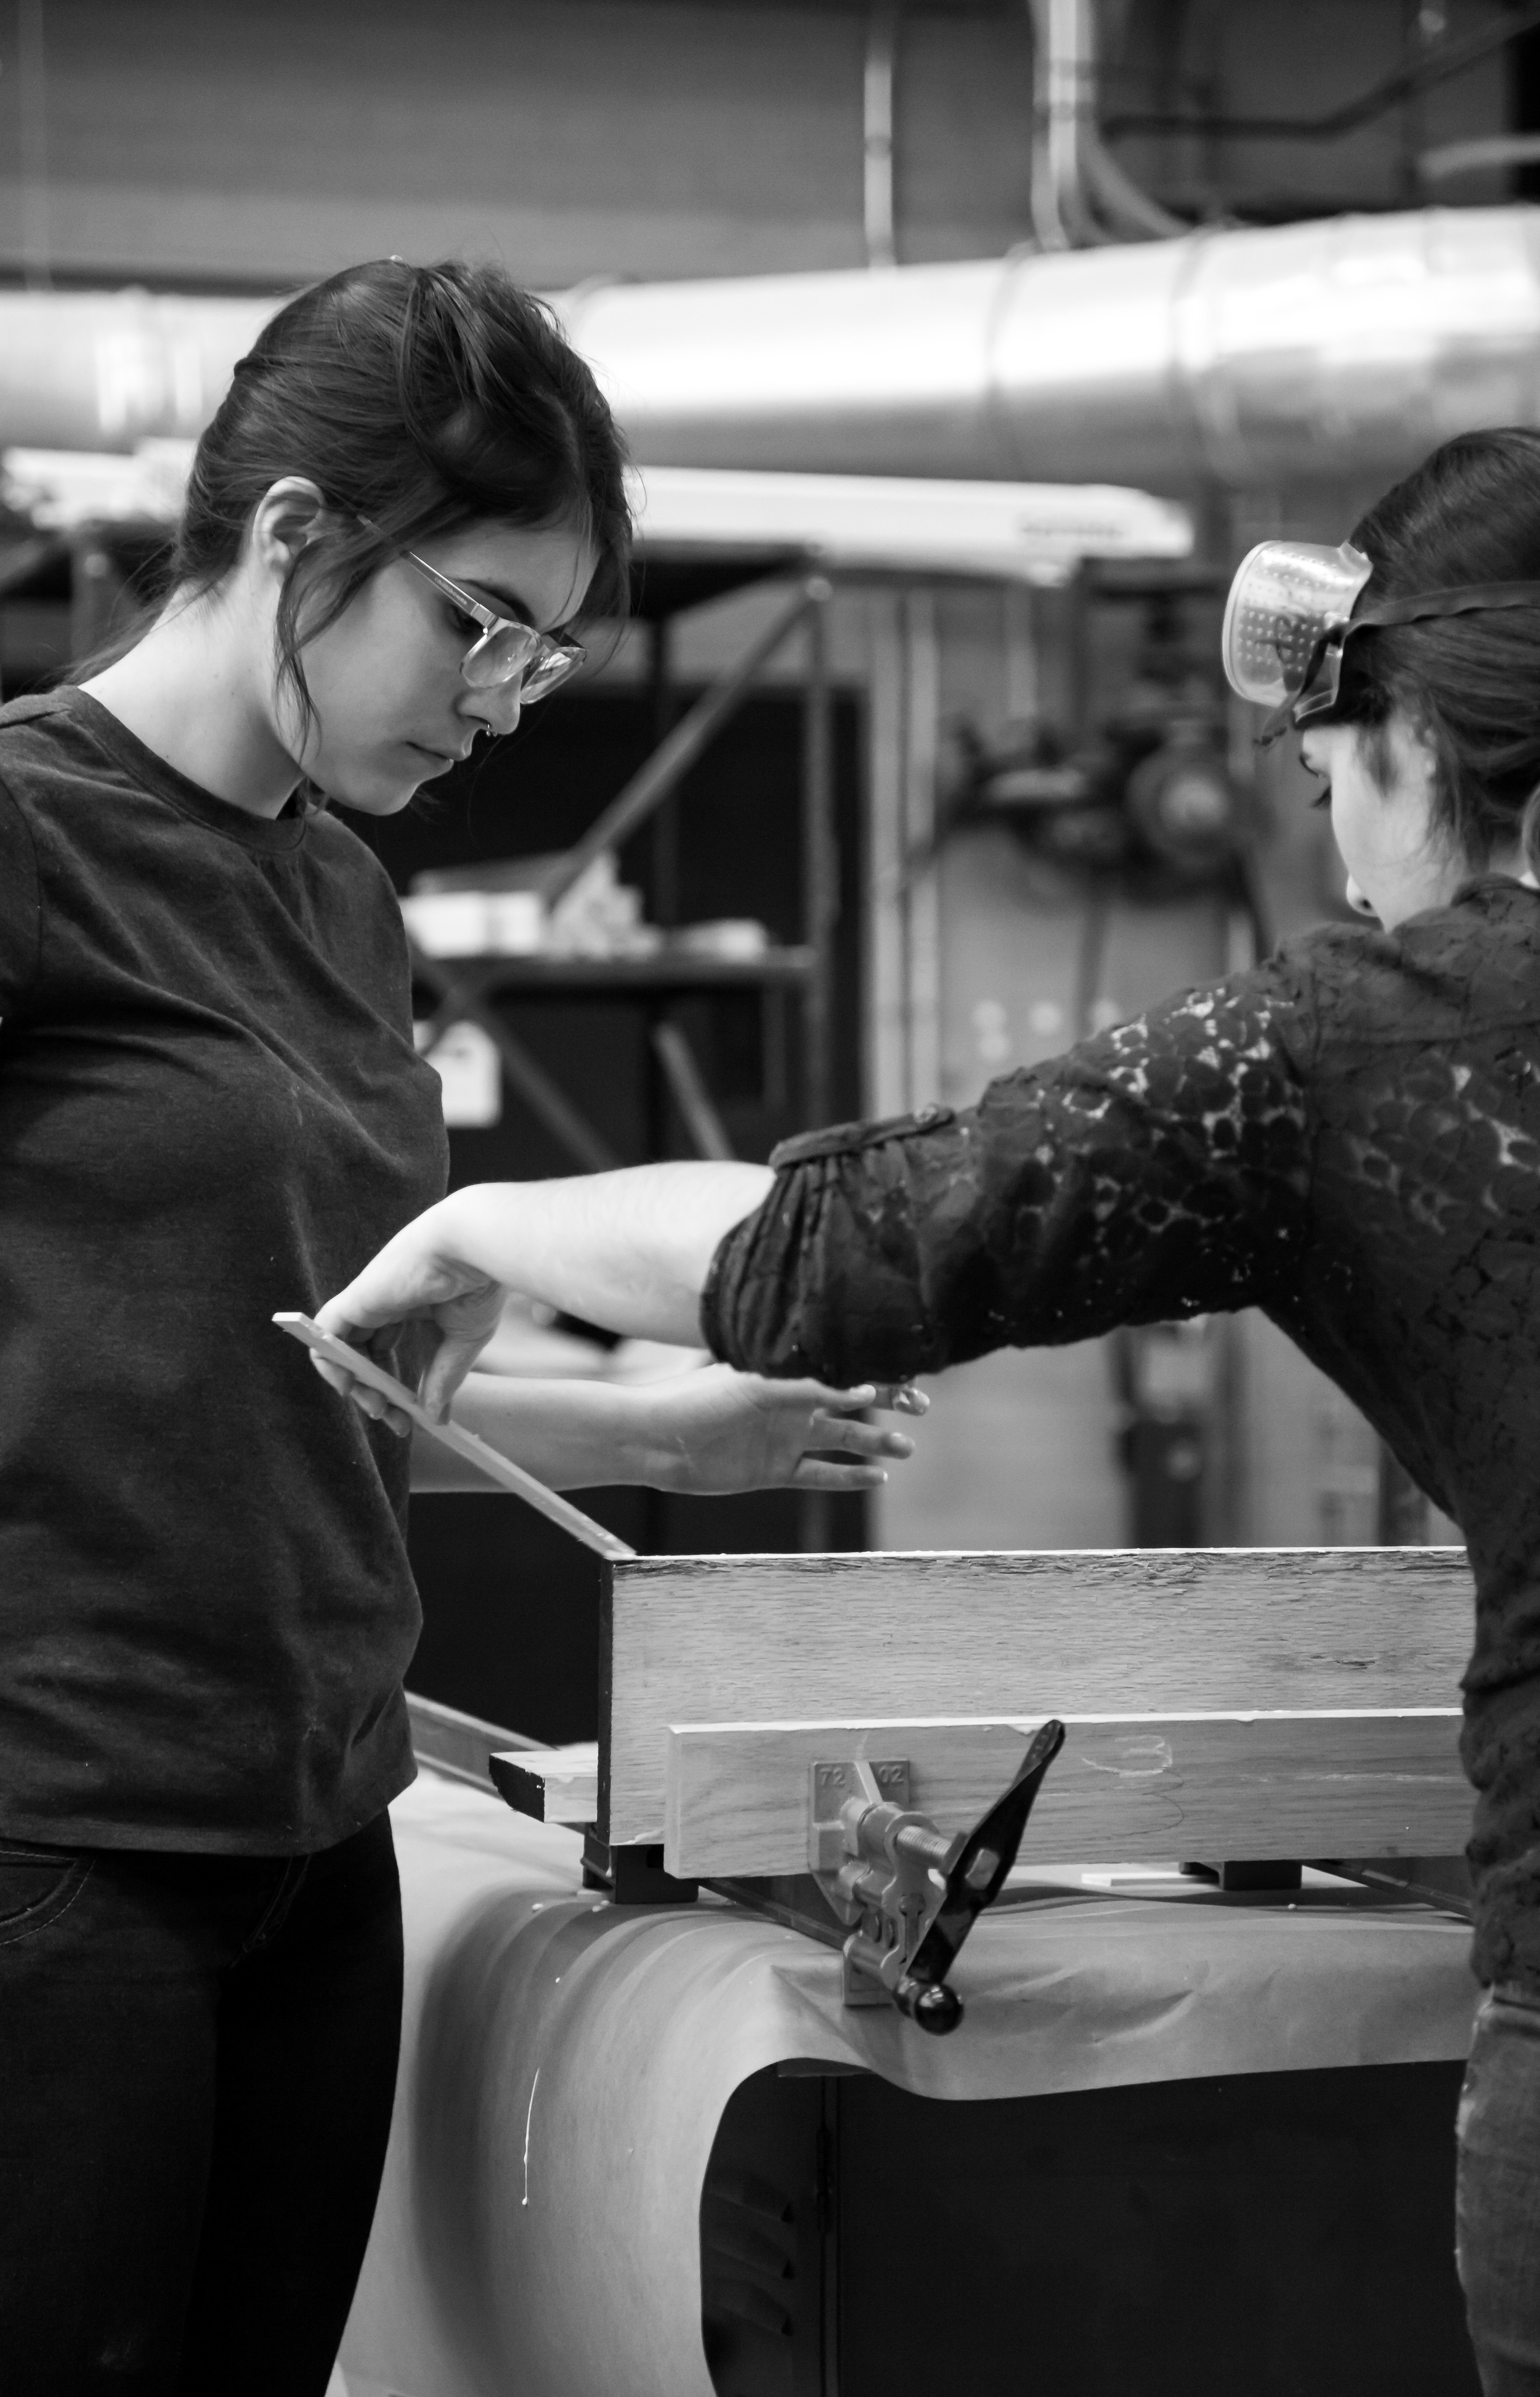
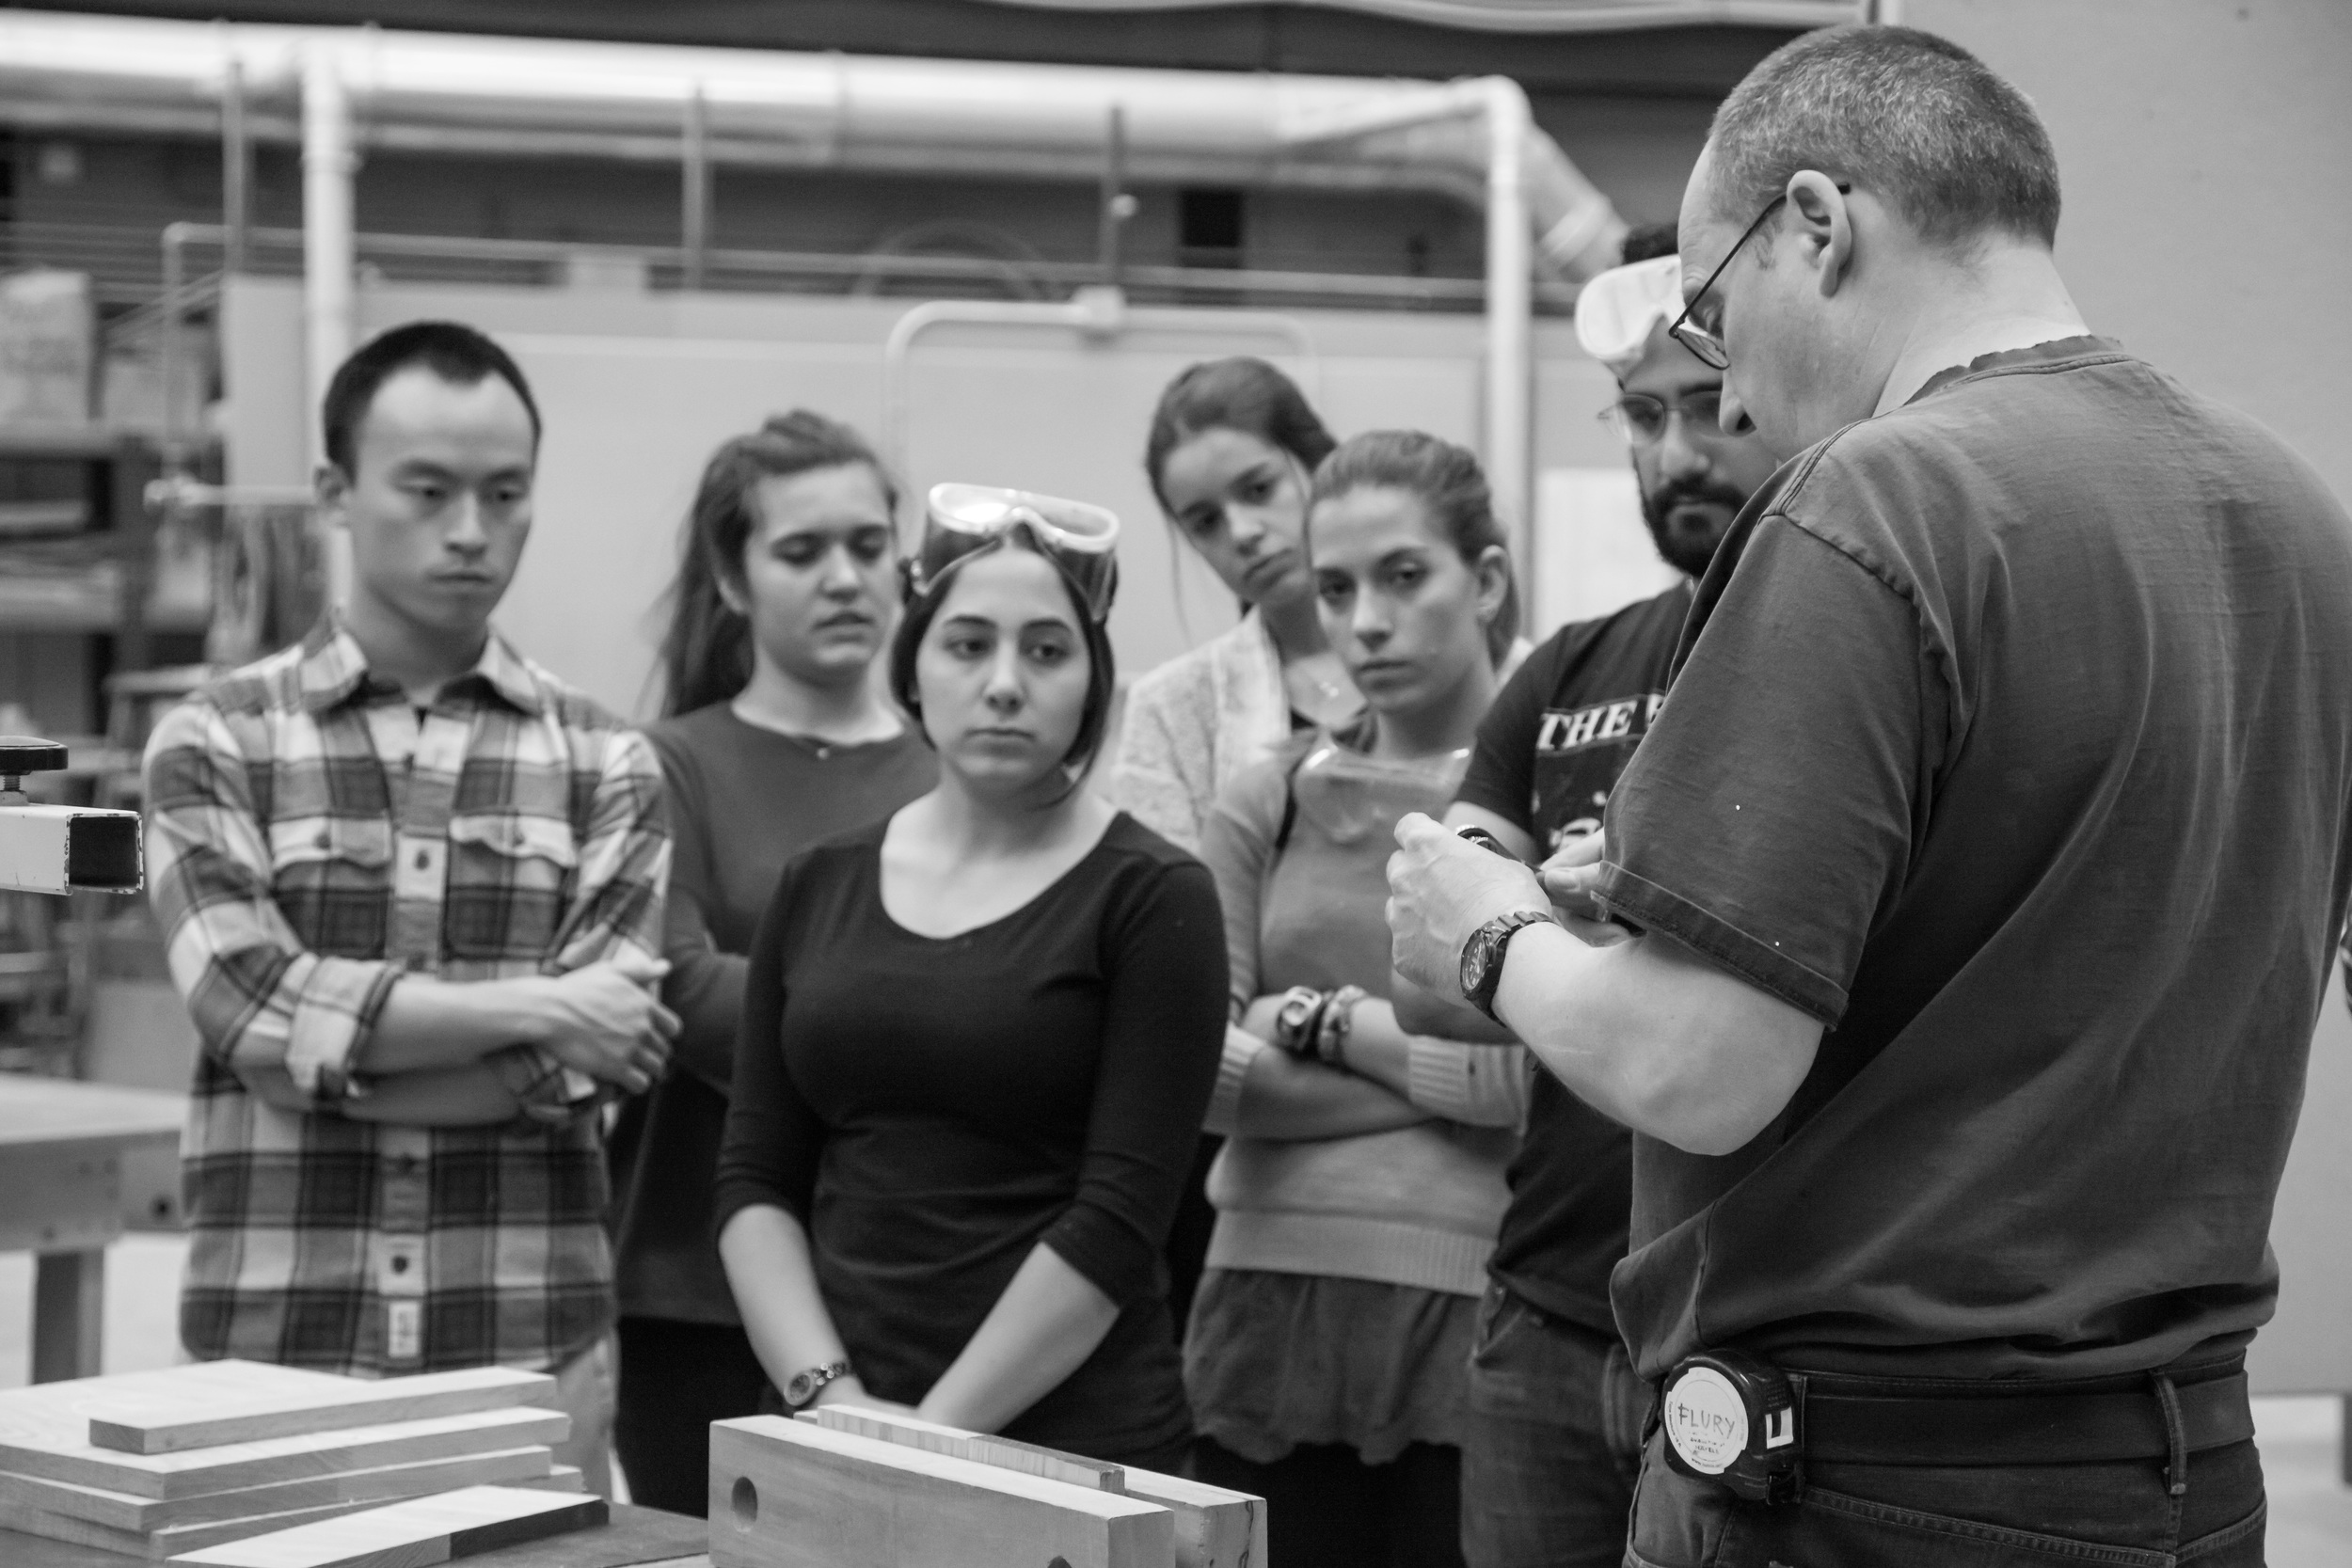
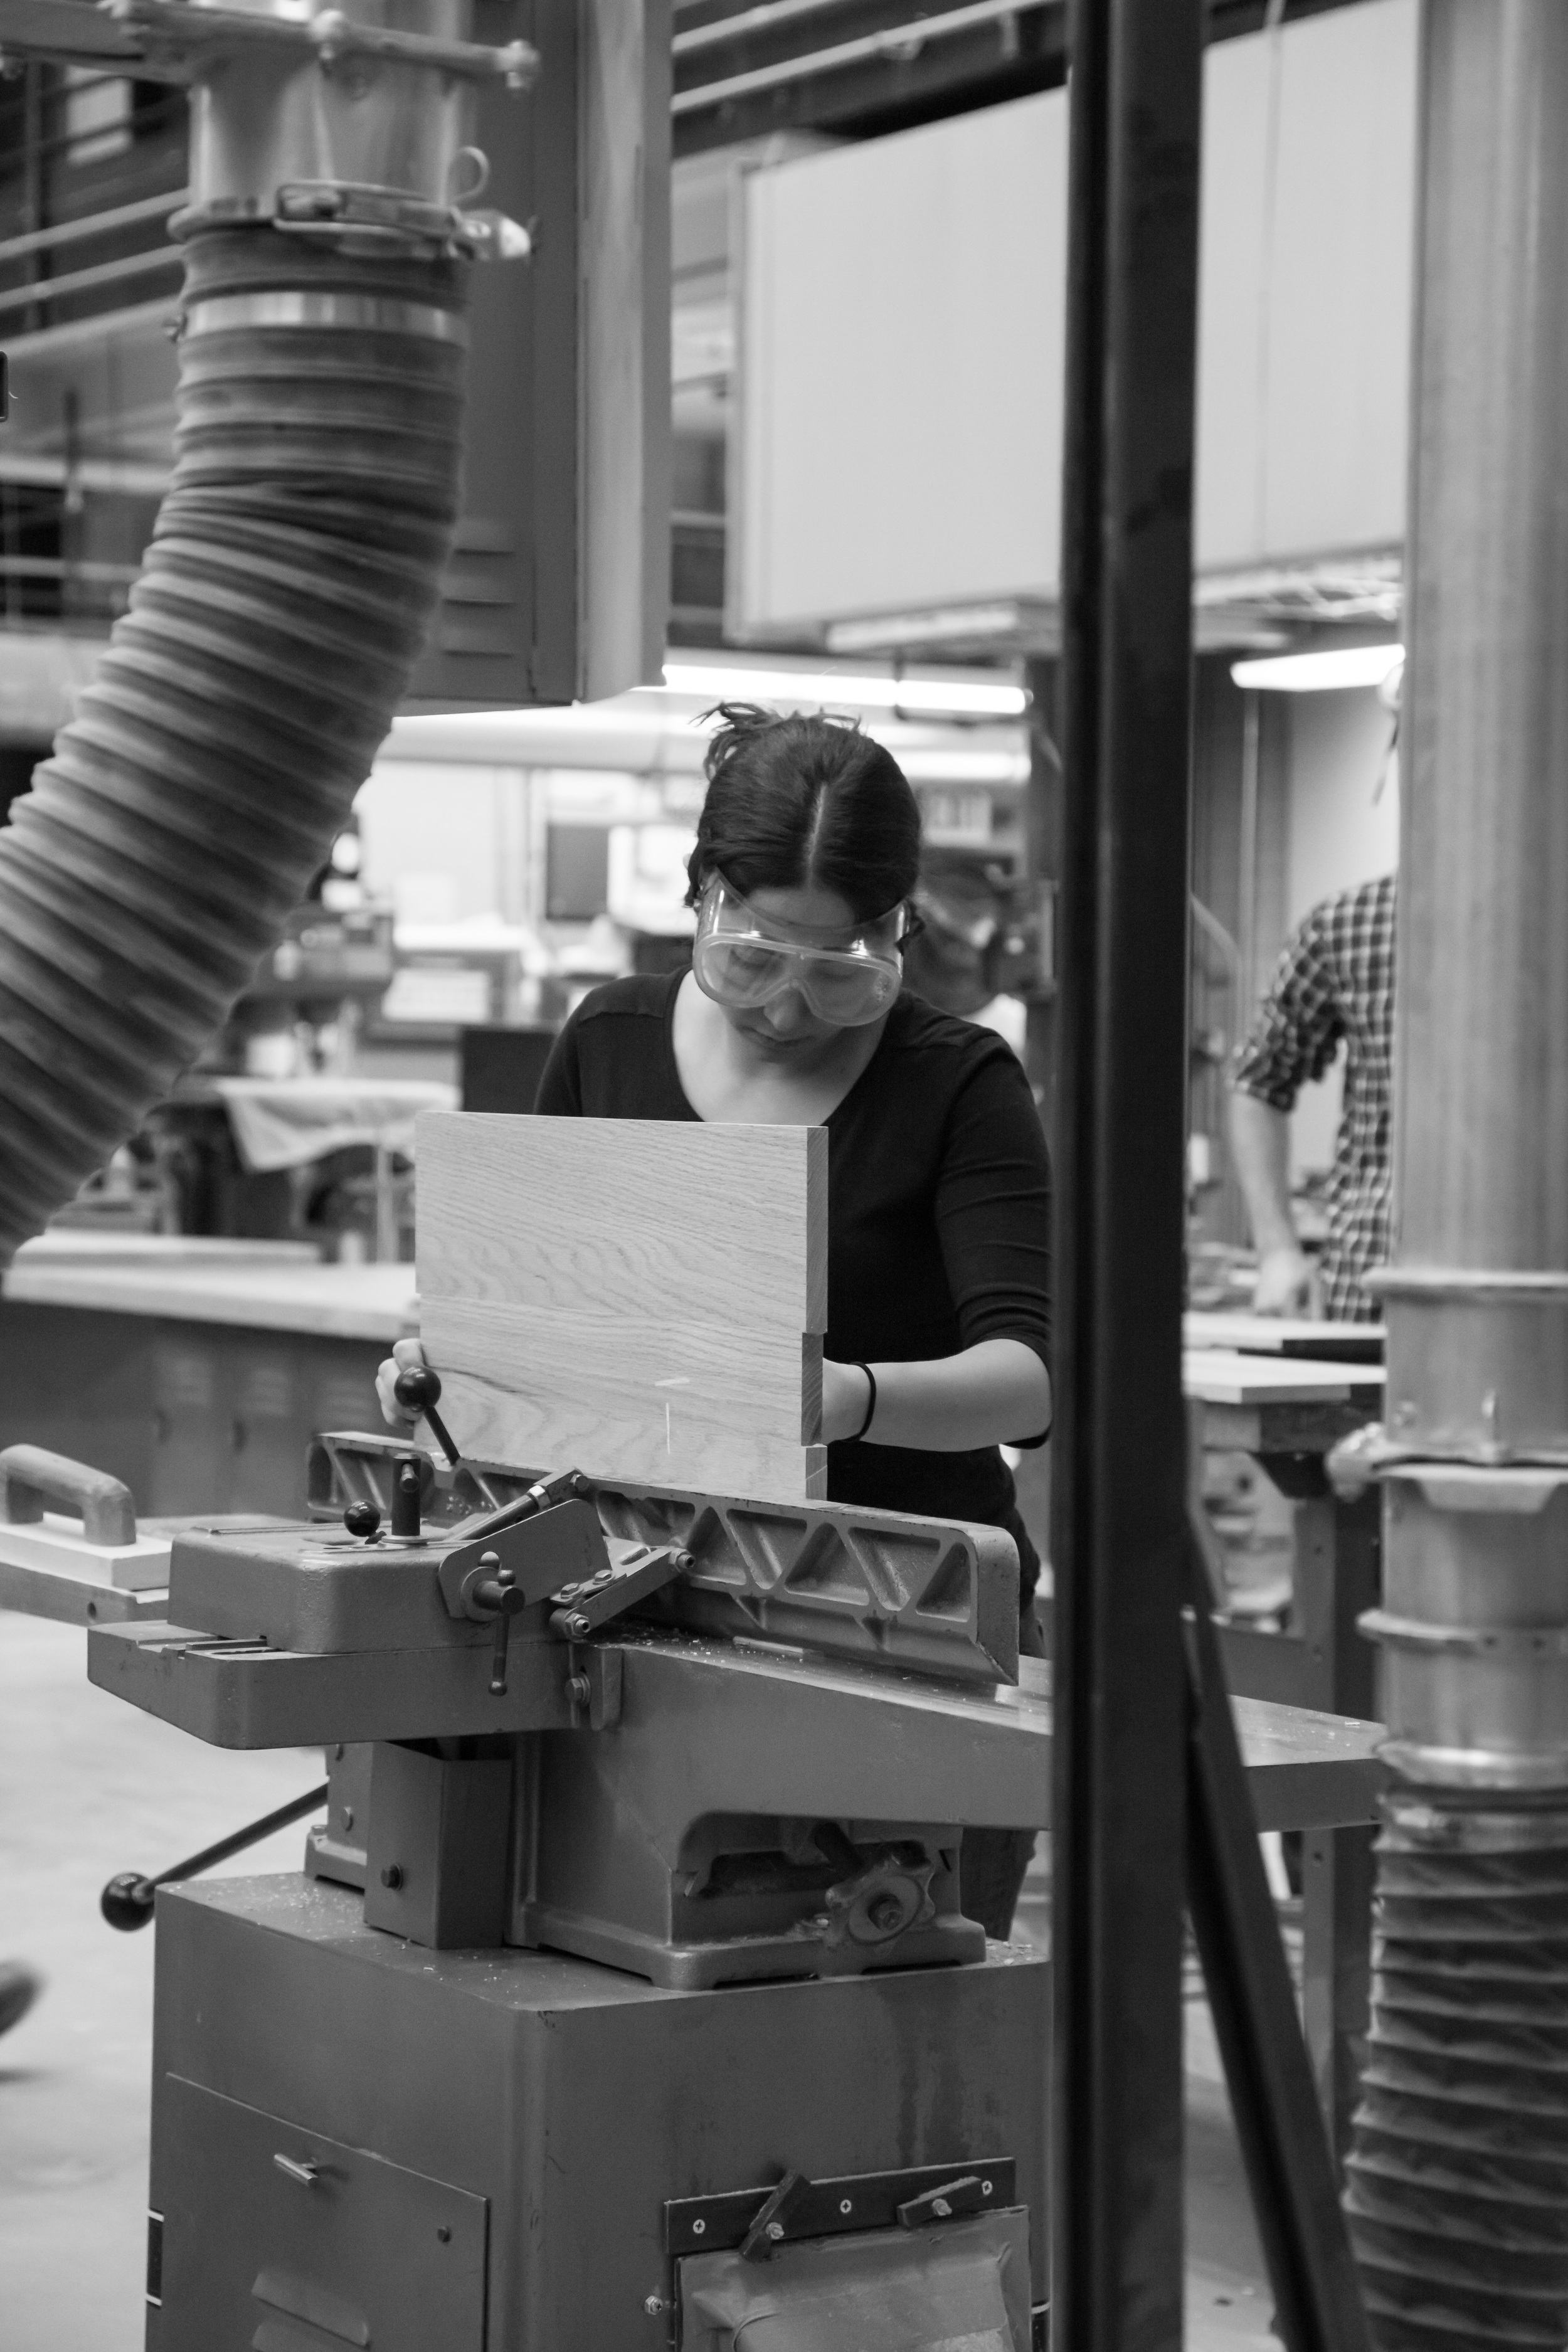
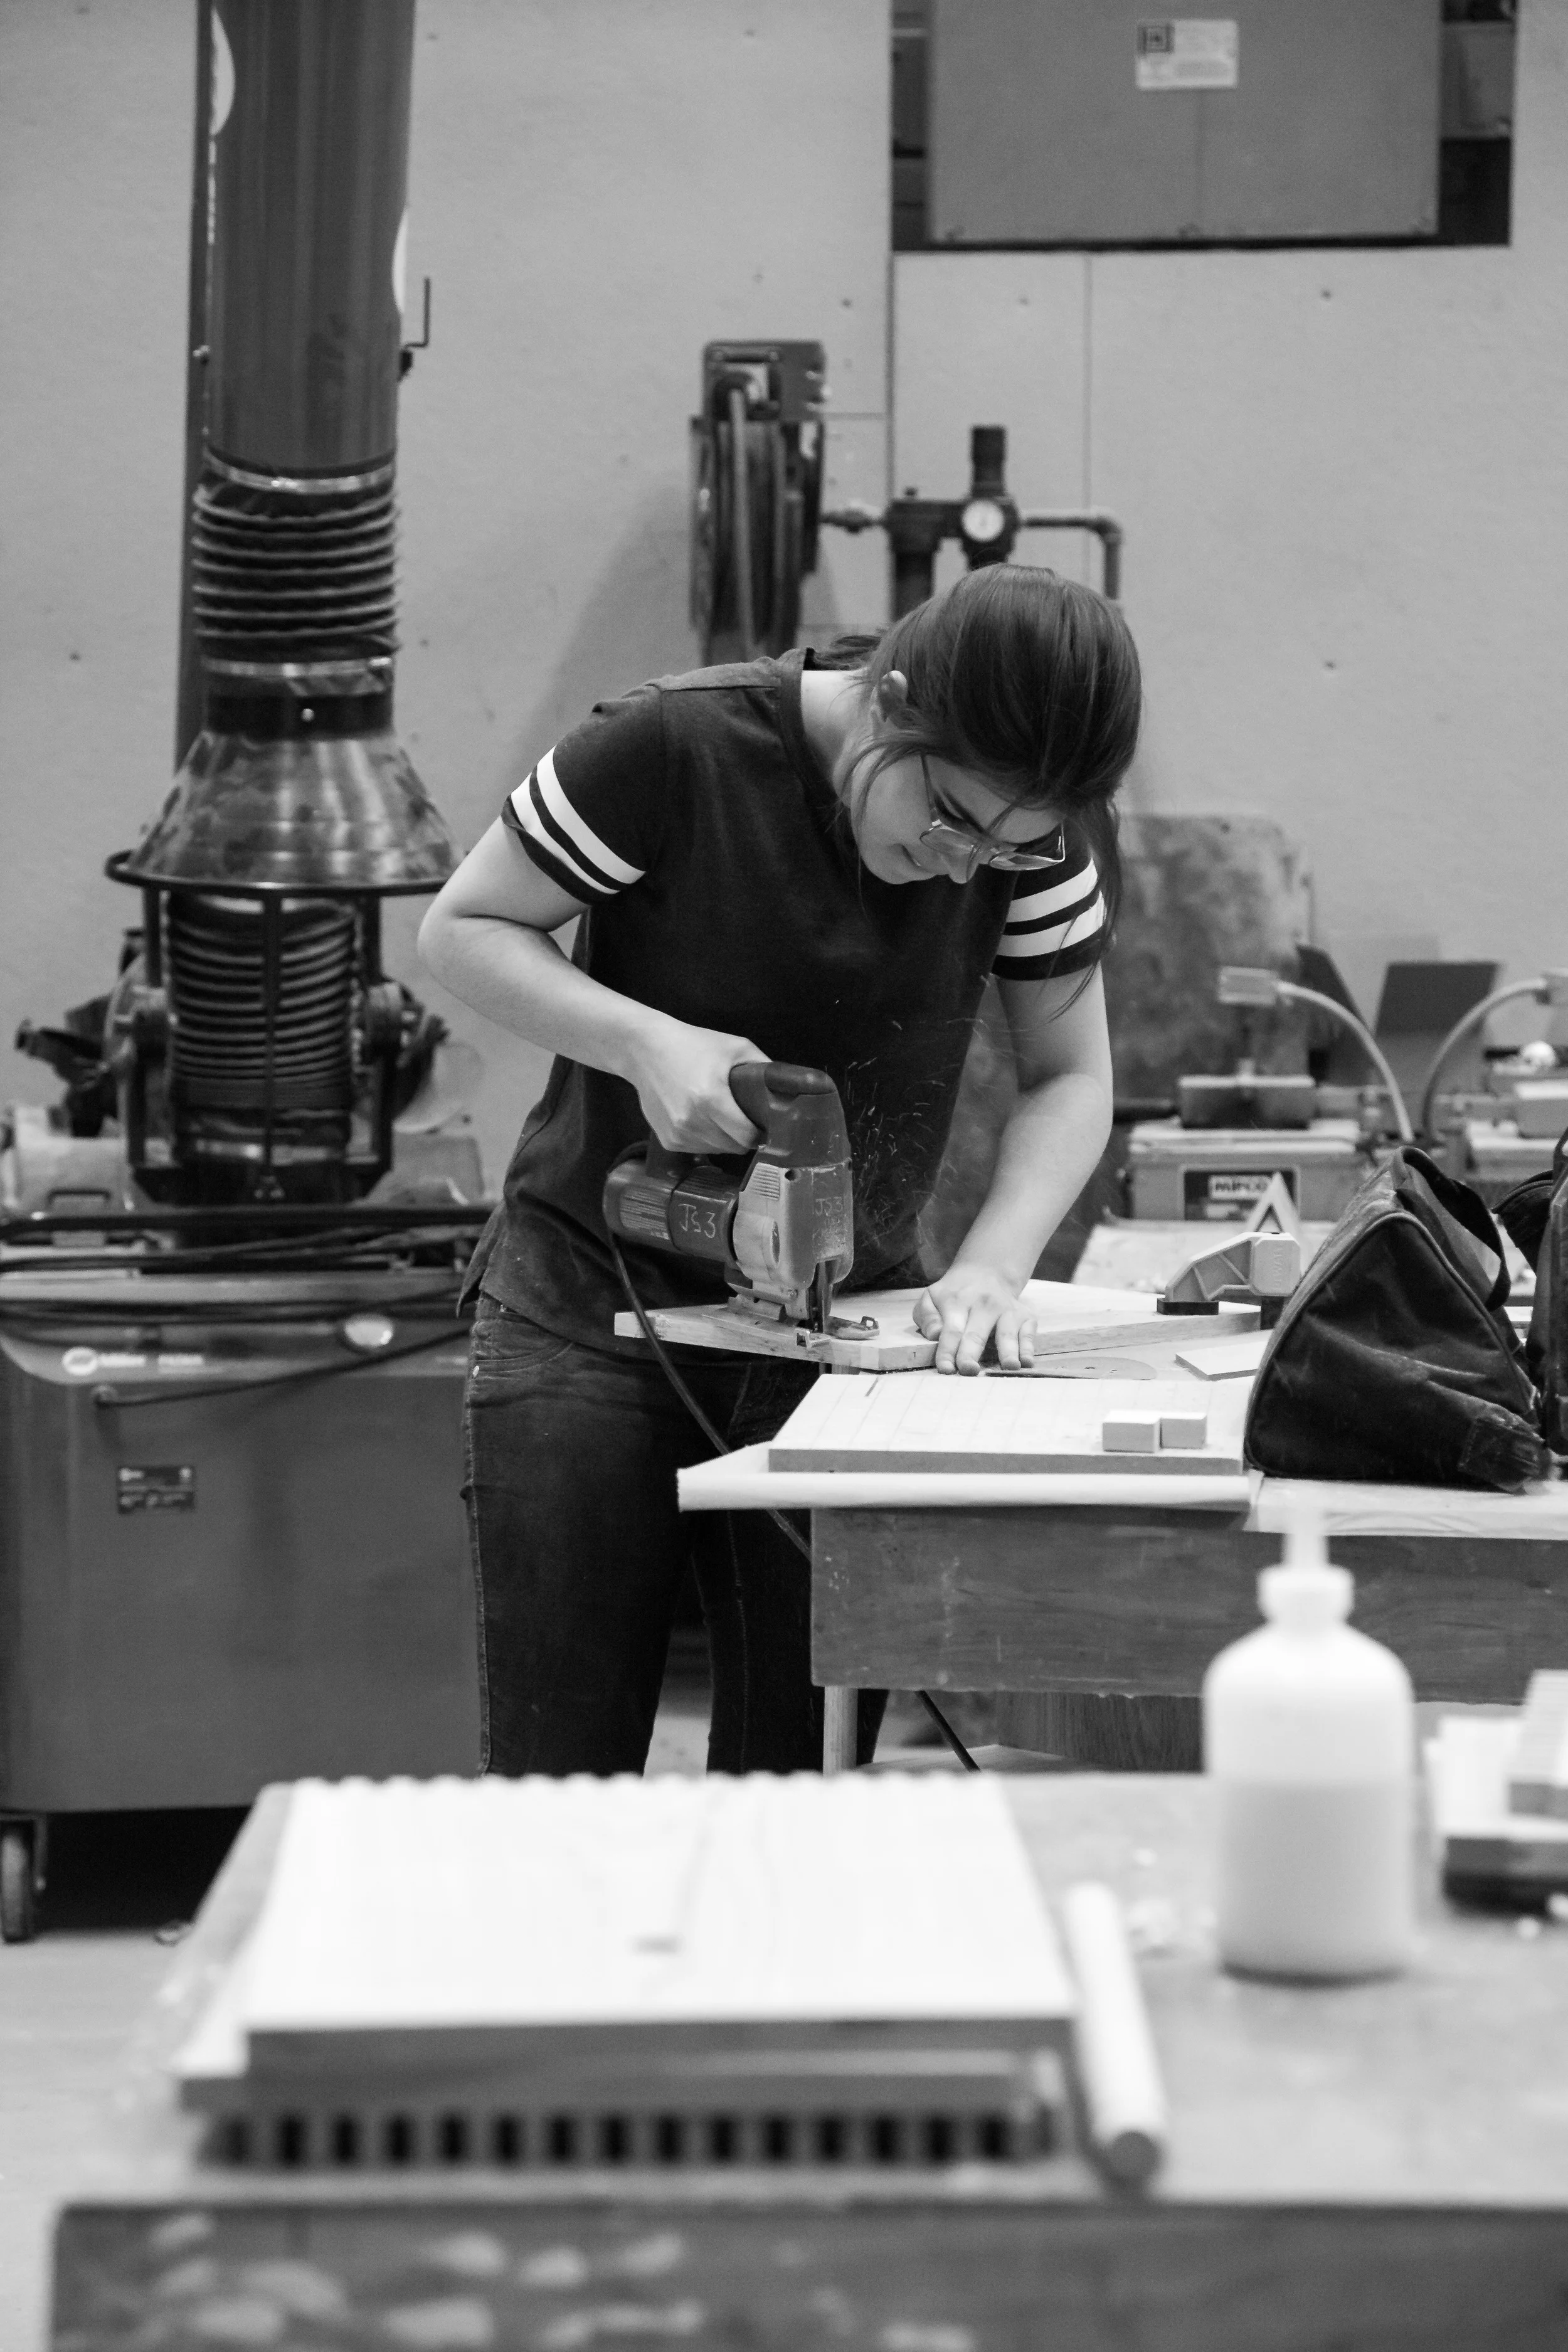
Lauren was commissioned by the iitdesignbuild program to document a furniture design build exercise that served as an introduction to furniture making. Through this exercise—and to support all future furniture making—students became acquainted with nearly every tool and machine in the university’s fabrication center. The photographic essay was documented to function as supplemental material to the written assignment, serving as a visual “how to”.
Programs/Interfaces used: Adobe CS
The Ulmer Stool Process*
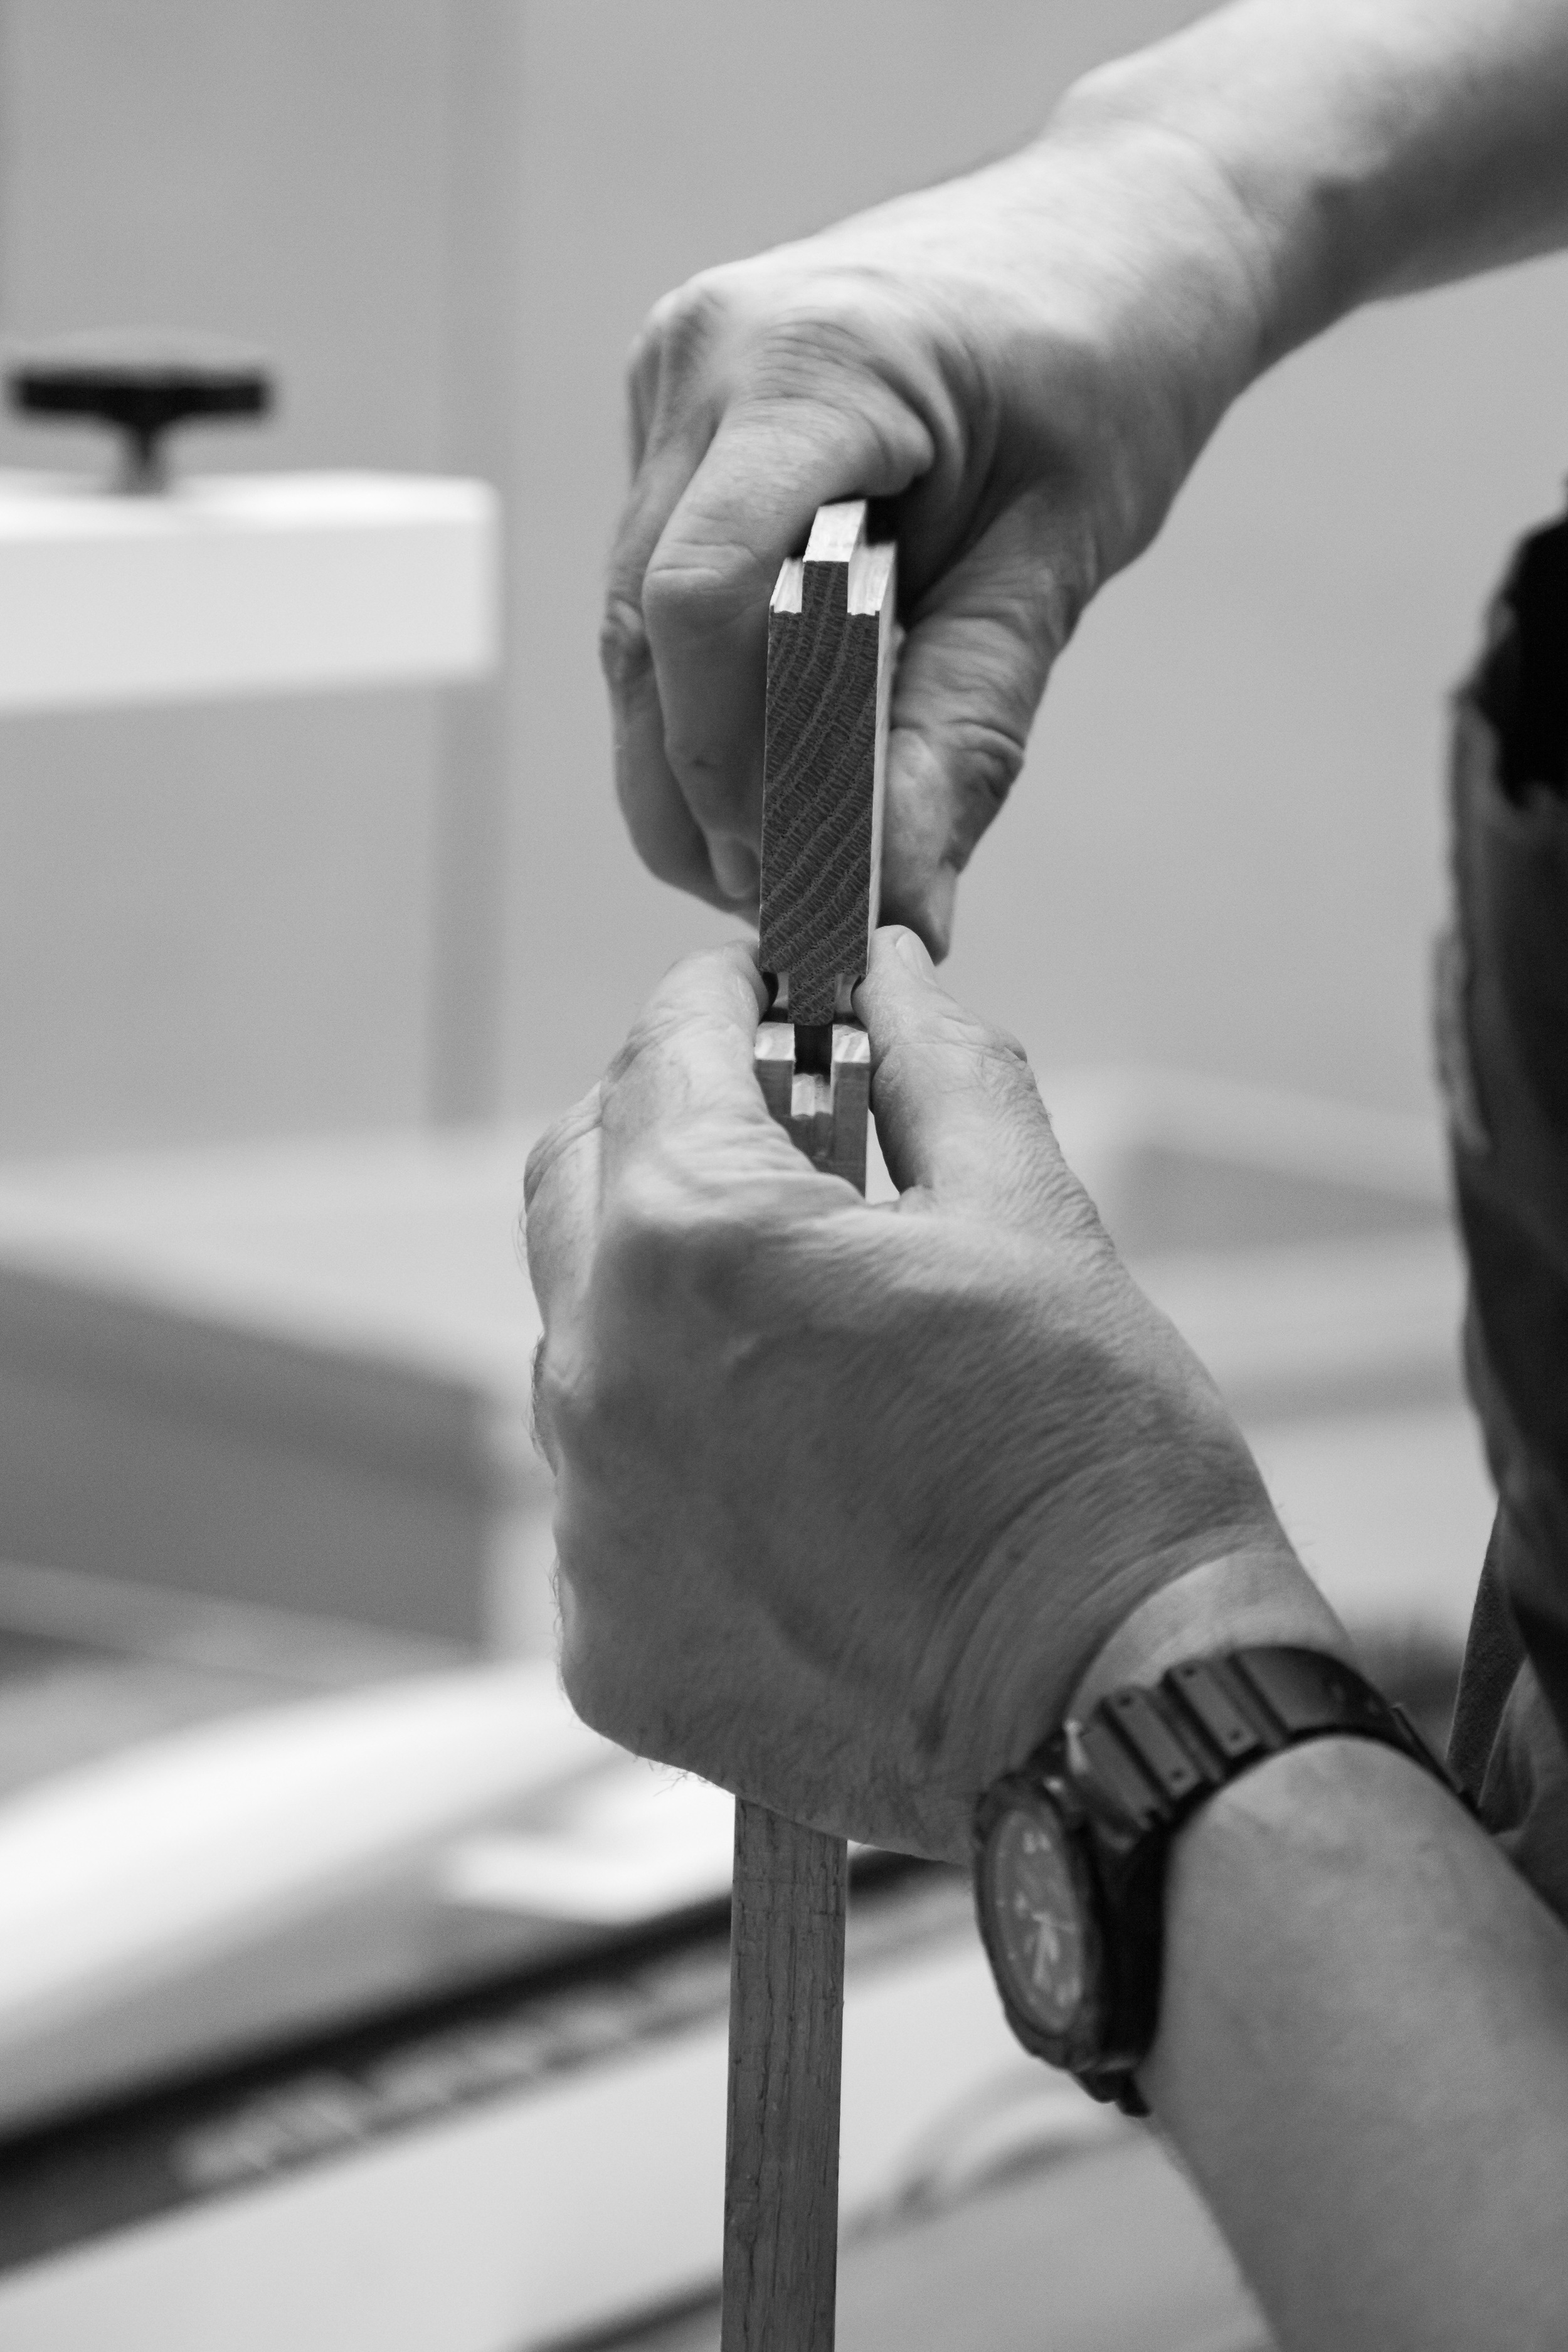
Choose matching boards dimensions: 2 side-boards and 1 top-board. Joint the edges. Glue the boards. Clean the boards of glue residue with a scraper. Plane the board to desired thickness. Joint one edge. Cut boards to length. Side boards: cut one side of the finger-joints on the top board using the finger-joint jig (note:“the good side” must be facing the blade). Cut final width of the all three boards depending on the final cuts achieved by the finger-joint cut. Top board: cut one side like the sideboards, flip the board and cut the second finger joint. Measure the length of the tenon on the top board and transfer it on the wooden dowel. Cut the tenon on the metal lathe. Cut the hole for the dowel in the two sideboards on the drill press. Glue the top-board and the two sideboards together using the glue-up jig. Dry for at least 2 hours. Cut the overhanging fingers to length on the table-saw using the trim-jig. Cut the overhanging dowels with the Japanese handsaw. Cut the final height of the stool on the table-saw. Cut a foot piece. Cut 4 Dominos on both length sides of the foot piece. Cut 4 Dominos on the bottom of both sideboards. Cut 2 holes on the drill press using the foot-jig. Rip the foot piece on the table-saw. Cut the inserts of the foot-pieces on the band saw. Glue the foot pieces to the bottom of the sideboards.
The Ulmer stool was designed by Max Bill in 1954 for the Hochschule für Gestaltung Ulm. The stool was designed to be flexible furniture that supported multiple functions. It was to be used by all students and faculty as a basket to carry books, as a chair as a side table or as a chair used in a lecture. The Ulmer stool combines a series of wood joints and finishing techniques that requires the use of advanced woodworking equipment. Learning how to use the required machines provides a foundation to the students own investigations in furniture making.
*Assignment and curriculum developed by Professor Frank Flury, iitdesignbuild.


